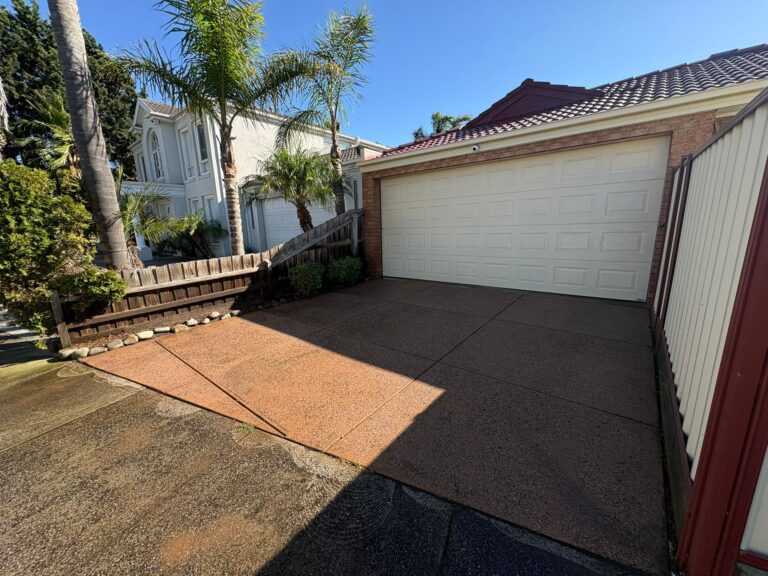
How to Paint a Driveway in 4 Steps
Before you start, make sure your driveway is structurally sound, free from major cracks or movement. If there are deep cracks, consider getting concrete crack repair done first to ensure a smooth finish that lasts.
Supplies You’ll Need
- Concrete Paint or Sealer: Use a specialised concrete and paving paint, not standard house paint. Acrylic-latex concrete sealers or epoxy paints are formulated to bond, flex, and resist UV exposure.
- Paint Brushes & Rollers: Angled brushes for edges and long-handled rollers for even application on large surfaces.
- Pressure Washer: Essential for deep cleaning and removing grime before painting. Rent one if you don’t own it.
- Concrete Degreaser (Optional): Perfect for stubborn oil or grease stains, but use gloves and follow safety instructions.
- Concrete Crack Filler: For sealing small cracks or holes. Apply with a caulk gun for best results.
Having the right tools makes all the difference, your preparation directly impacts how long your driveway paint will last.
Step 1: Prepare the Concrete Surface
Preparation is everything. Start by sweeping away dust, dirt, and debris with a stiff broom or blower. Then, pressure wash the surface thoroughly to remove built-up grime and old coatings. If oil stains remain, apply a degreaser and rinse clean.
Inspect your driveway for cracks or chips. Use concrete crack filler to patch them and allow proper curing before moving on. A smooth, clean base ensures your paint adheres perfectly and provides a professional-looking finish.
Step 2: Paint the Driveway Edges
Before rolling paint over the entire surface, start with the edges. Use an angled brush to carefully “cut in” around garden beds, garage doors, or fences. This gives you crisp, clean lines and prevents splatter.
Take your time, good edgework makes a huge difference in the final appearance. Use painter’s tape for extra precision if needed.
Step 3: Apply the First Coat
Now for the fun part! Using a roller, apply the first coat of concrete paint evenly across the driveway. Work in small sections (around 1m x 1m), overlapping each section slightly to ensure full coverage.
If your driveway is sloped, roll side-to-side instead of top-to-bottom to prevent pooling. The first coat acts as a primer and may look lighter or uneven at first, don’t worry, the second coat will even it out.
Allow the paint to dry for 24–48 hours (check the manufacturer’s instructions) before applying the next coat or walking on it.
Step 4: Apply the Second Coat
Once the first coat is dry, inspect for any thin or patchy areas. Apply a second coat in the same direction or perpendicular to the first for even coverage. Avoid pressing too hard with the roller to prevent lifting the first layer.
The second coat will deepen the colour and add a durable protective layer. Once finished, let the driveway cure fully, typically 48–72 hours, before driving on it.
Enjoy Your New Driveway
And there you have it, a refreshed, stylish driveway without breaking the bank! With the right preparation and materials, concrete driveway painting can extend your surface’s lifespan and enhance your home’s curb appeal.
To keep it looking sharp, reapply a fresh coat every few years, pressure wash regularly, and address any oil spills promptly. For larger projects or premium finishes like decorative coatings and epoxies, it’s best to call the professionals.
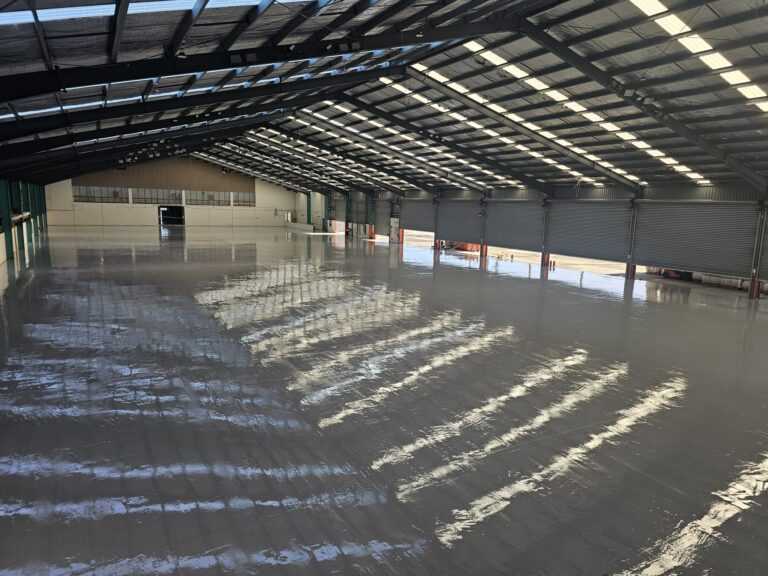
At Home Concrete Solutions, we specialise in concrete driveway painting, resurfacing, and epoxy flake coatings across Melbourne and Geelong. We’ll help you choose the best solution for your driveway’s condition, style, and budget.
Contact us today for a free quote or on-site consultation and give your driveway the professional makeover it deserves!