Concrete grinding is a vital step in preparing your floors for a polished, decorative, or sealed finish. It helps remove surface imperfections, adhesive residues, and uneven textures, leaving behind a smooth and level foundation.
However, the process can also create a fine layer of dust that spreads across every corner of the room. If not cleaned correctly, that dust can affect your next steps, from polishing and sealing to painting — and may even reduce the overall quality of the finish.
To help you achieve a flawless surface, here’s an expert guide on how to properly clean your concrete floor after grinding, along with practical suggestions and professional tips.
Why Cleaning After Grinding Matters
After grinding, your concrete floor will be coated with a fine powdery dust that’s invisible at first glance but can cause serious issues if ignored. This dust can:
- Weaken the bond between the floor and any coating or sealant.
- Dull the surface if trapped under a polish or epoxy finish.
- Become a health hazard when disturbed or inhaled.
Proper cleaning ensures your floor is ready for the next stage of treatment, whether you’re applying epoxy, sealers, or decorative finishes.
Step 1: Avoid Using a Household Vacuum
When most homeowners see a floor covered in fine dust, their instinct is to reach for a household vacuum. While this might seem like a quick fix, it’s actually one of the biggest mistakes you can make.
Here’s why:
- Household vacuums lack the suction power to remove ultra-fine concrete dust effectively.
- The dust can clog or permanently damage the vacuum’s filtration system.
- Fine concrete particles may escape through the exhaust, spreading back into the air.
If you’re serious about achieving a clean, professional-grade result, skip the standard vacuum and invest in the right tool for the job.
Step 2: Use an Industrial-Grade Vacuum
The most effective way to clean concrete dust is with a HEPA-filtered industrial vacuum. These machines are designed to handle the fine silica particles created during grinding. They have powerful suction, advanced filters, and robust dust containment systems.
When hiring or purchasing one, look for:
- High airflow rate (CFM) – The higher the rating, the faster and more efficient dust removal will be.
- HEPA filtration – Essential for capturing microscopic dust particles and maintaining air quality.
- Durability – Choose models built for construction or concrete work.
Pro Tip: If you don’t own one, many tool hire companies in Melbourne rent out industrial vacuums for short-term use. Alternatively, you can save time (and a huge cleanup effort) by hiring a professional concrete grinding and polishing team who will handle the cleaning as part of the process.
Step 3: Wet Mop the Surface for Fine Dust Removal
Even after vacuuming, there’s always a thin residue left behind. To remove it completely:
- Use a damp microfiber mop or auto scrubber to collect the remaining dust.
- Avoid over-saturating the surface, excess water can seep into cracks and delay drying.
- Rinse and wring your mop frequently to prevent streaking.
If you’re planning to apply a sealer or polish afterward, ensure the floor is fully dry before proceeding. Moisture trapped under a coating can lead to adhesion issues or surface bubbles later on.
Step 4: Check Corners, Edges, and Air Vents
Concrete dust travels easily and tends to accumulate in hidden areas. Once you’ve cleaned the main floor:
- Wipe down skirting boards, vents, window sills, and corners.
- Use a soft brush attachment on your vacuum for delicate surfaces.
- Inspect nearby furniture or tools to ensure no dust remains that could fall back onto your floor.
Taking time for these small details ensures a professional finish and saves you from having to redo your cleaning.
Step 5: Seal or Polish to Lock in the Clean Surface
After you’ve thoroughly cleaned your concrete floor, it’s the perfect time to apply a sealer or polish. Not only will this protect your newly ground surface, but it will also make future maintenance much easier.
For example:
- Sealers prevent moisture and stains from penetrating the concrete.
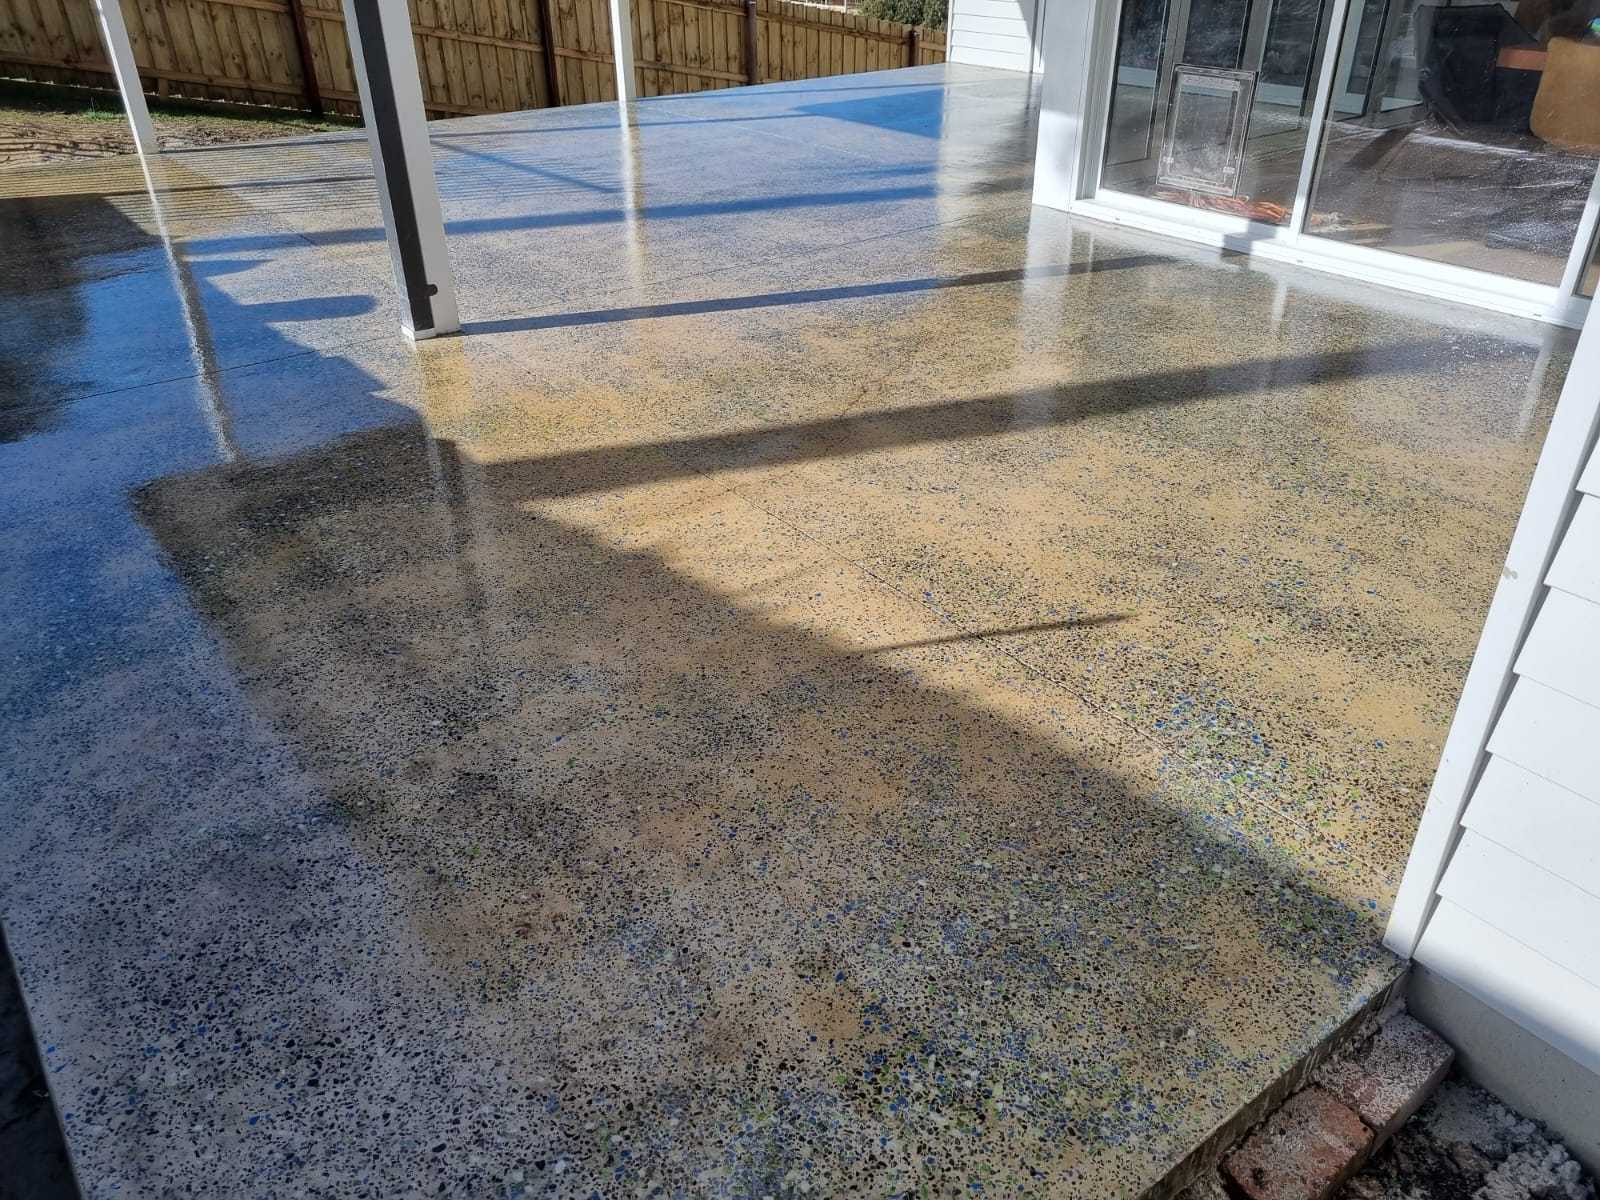
- Polishing creates a reflective, decorative finish ideal for modern homes and showrooms.
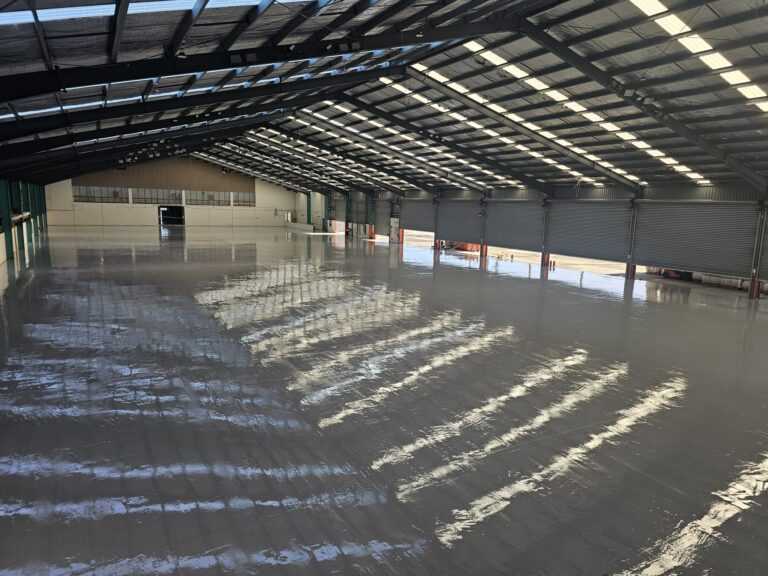
- Epoxy coatings offer long-term durability for garages and industrial spaces.
If you’re considering concrete floor polishing in Melbourne, ensure the surface has been properly cleaned and prepped first, it’s the key to achieving a strong, long-lasting result.
Professional Cleaning and Polishing Services
While it’s possible to handle the cleaning yourself, concrete grinding and polishing are best done by professionals who use dust-controlled equipment and HEPA filtration systems to keep your space clean throughout the process.
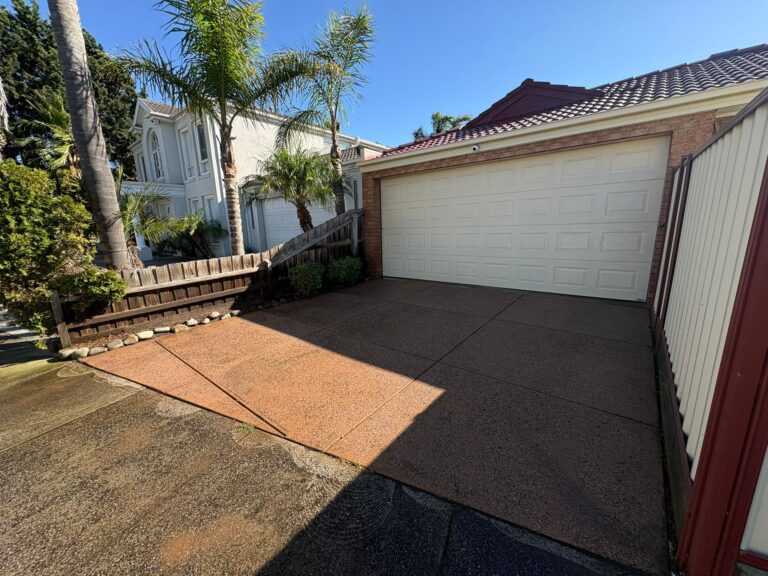
At Home Concrete Solutions, our technicians ensure minimal dust build-up and provide complete post-grinding cleaning as part of every project. From driveways and garages to commercial floors, we handle every step, grinding, cleaning, and sealing, with precision.
Final Thoughts
Concrete grinding is the foundation of a smooth, durable, and attractive floor, but the cleaning afterward is just as important. Without proper cleanup, dust and residue can compromise the quality of your finish and shorten the lifespan of your investment.
To ensure your project delivers the best results, always:
- Use industrial or HEPA vacuums, not household cleaners.
- Wet mop for fine dust removal.
- Inspect corners and vents for residual dust.
- Finish with a protective seal or polish.
For professional advice or a quote on concrete floor grinding and polishing in Melbourne, contact Home Concrete Solutions today. Our experienced team will help you achieve a clean, durable, and beautifully finished floor, every time.